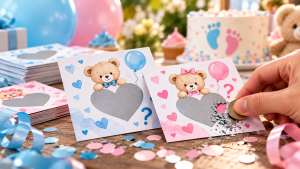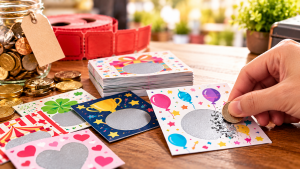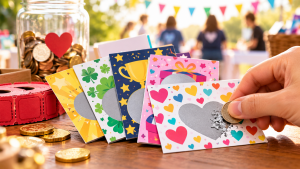
Printable scratch off cards give you the fun of a lottery-style reveal without ordering anything or waiting for shipping. Download a template, print it at home, add a scratch layer, and you’ve got a custom card for a gift, a party, a gender reveal, a classroom reward, or a promotion — often within an hour.
But there’s a right way and a wrong way to do it, and the difference is the gap between a card that scratches cleanly and one that smears or won’t scratch at all. This guide walks through the entire process step by step: where to get printable templates, how to print them properly, the two ways to add the scratch layer, and how to fix the common problems that trip people up. By the end you’ll be able to make professional-looking printable scratch cards reliably.
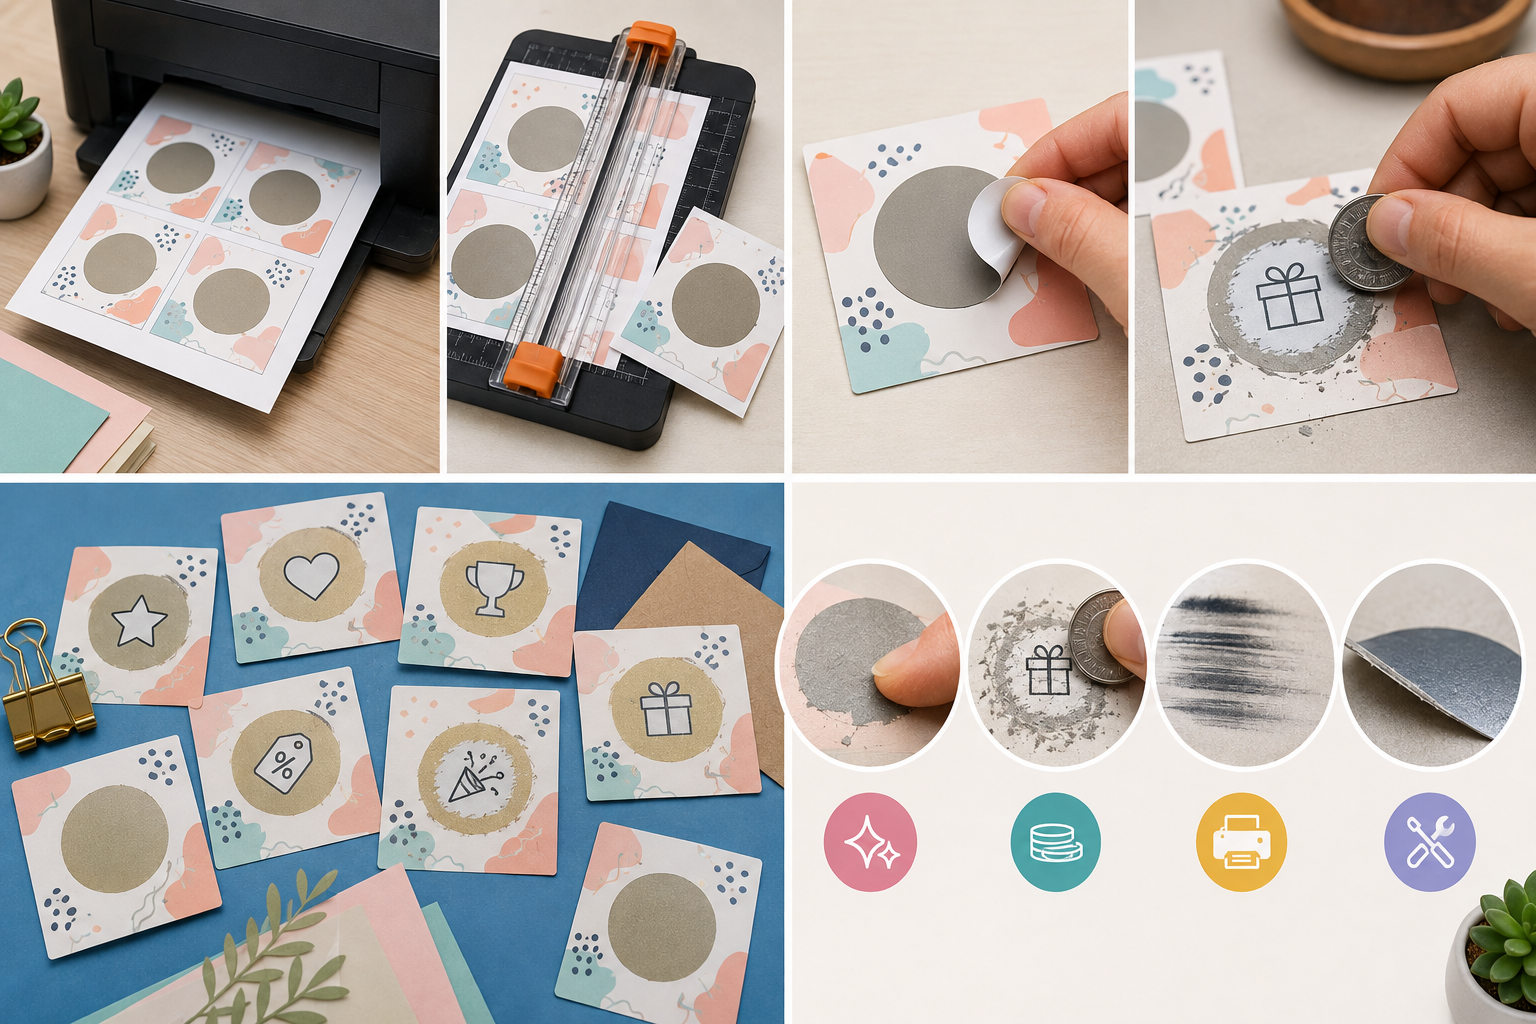
Quick answer: How do printable scratch off cards work? You download a card template (from Canva, a craft blog, or a marketplace), print it on cardstock, then add the scratch-off layer by either applying a pre-made scratch-off sticker over the hidden area or brushing on homemade scratch paint (2 parts metallic acrylic paint to 1 part dish soap) over clear tape. The template is the design; the sticker or paint is the scratchable coating you add after printing.
Understanding Printable Scratch Cards: Two Parts
The key thing to understand — and what confuses most first-timers — is that a printable scratch card is two separate parts:
- The printed design (the template) — a graphic you print on cardstock, with your artwork, message, and a marked spot where the prize hides. This is what you download.
- The scratch layer — the opaque, scratchable coating you add after printing, over the hidden area. This is either a sticker or homemade paint.
The template does not come with a scratch coating already on it (with rare exceptions like pre-coated blank card stock). You print the design, then add the scratch part yourself. Once you understand that, the whole process makes sense.
Do printable scratch cards come with the scratch coating? Usually no. A printable scratch card template is just the design you print on cardstock; you add the scratch-off layer afterward using a pre-made scratch sticker or homemade scratch paint. The exception is pre-coated blank scratch card stock, which already has a scratch panel and runs through your printer — less common, but available. For most templates, plan to add stickers or paint.
Step 1: Get a Printable Template
You have several sources, free and paid:
- Canva — start from a free card template, customize the text and design, and download as PDF or JPG to print. The most flexible free option.
- Craft blogs — many offer free printable PDF scratch cards (often for an email signup), commonly several cards per page with a customizable phrase, themed for occasions like Valentine’s, gender reveals, and rewards.
- Marketplaces (Etsy, Teachers Pay Teachers) — polished, editable templates (often via the Corjl browser editor) for weddings, showers, classrooms, and holidays.
- Free templates for specific occasions — date night, Christmas, “you’re on the nice list,” gender reveal, and customer-appreciation designs are widely available.
Pick a template sized to your need and note how many cards print per page (commonly 6–12).
Step 2: Personalize and Print Correctly
This is where quality is won or lost.
- Edit the hidden message in Canva, Corjl, or a PDF editor — keep it large and bold so it’s satisfying to reveal, and add a “Scratch here!” call to action.
- Use cardstock, not thin paper. Cardstock survives scratching and mailing; thin paper curls and tears. This is non-negotiable.
- Print at the highest quality setting (“Best”) for crisp color.
- Print a test page first to check sizing and alignment before running the whole batch — this catches cropping and scale errors cheaply.
- Cut cleanly with a paper cutter, and round the corners for a polished look.
What paper should I use for printable scratch cards? Use sturdy cardstock, not thin printer paper — cardstock holds up to scratching and mailing, while thin paper curls and tears. Print at your printer’s highest quality setting for crisp color, and always run a test page first to check sizing and alignment. For homemade paint (rather than stickers), glossy or coated cardstock gives the cleanest scratch.
Step 3: Add the Scratch Layer
Two reliable methods.
Method A: Scratch-Off Stickers (Easiest & Most Reliable)
Peel a pre-made scratch-off sticker and press it over the hidden area, from the center outward to remove bubbles. Match the sticker size to your design’s scratch spot (1″ circles are standard). Let stickers cure about 48 hours before scratching — the adhesive needs time to set. This is the most consistent method and needs no drying or mixing.
Method B: Homemade Scratch Paint
Mix two parts metallic acrylic paint with one part dish soap. Cover the hidden message with a strip of clear packing tape or contact paper (this slick layer is what lets the paint scratch off), then brush two to three thin coats over the tape, letting each dry. The dish soap keeps the paint flexible so it flakes off cleanly. Let it cure a couple of hours before scratching.
How do I add the scratch-off part to a printable card? Two ways. Easiest: peel a pre-made scratch-off sticker and press it over the hidden area (let it cure ~48 hours). Cheapest: cover the message with clear tape, then brush on scratch paint made from 2 parts metallic acrylic paint and 1 part dish soap, in two to three thin coats, and let it dry a couple of hours. The tape is essential — paint applied directly to paper won’t scratch off.
Step 4: Scratch and Enjoy
Use a coin, not a fingernail (nails smear paint and can damage stickers). The reveal should be clean if you used cardstock and the right method.
Troubleshooting: Common Printable Scratch Card Problems
“My paint won’t scratch off.” You skipped the tape/contact-paper layer, or the paint was too thick or under-soaped. Always add a slick barrier under the paint, use thin coats, and keep the 2:1 paint-to-soap ratio.
“The hidden message shows through.” The coating isn’t opaque enough — add another thin coat of paint, or use a fully opaque sticker. With paint, a busy pattern or darker card under the message helps.
“The print looks faded or blurry.” Your print quality setting was too low, or the paper was too thin/absorbent. Use cardstock and the highest quality setting.
“The scratch smears the message.” You used pen or pencil for the hidden text (indentations and wet ink smear), or scratched with a fingernail. Use permanent marker or printed text, and scratch with a coin.
“The design printed off-center or cropped.” You skipped the test print. Print one page first and adjust scaling/margins before the full batch.
“The sticker peeled or bubbled.” You didn’t let it cure, or the surface was textured/oily. Use smooth cardstock, press from the center out, and let it cure ~48 hours.
Why won’t my printable scratch card scratch off? The most common reason is applying paint directly to paper instead of over a slick tape or contact-paper layer — paint bonds to paper and won’t budge. Other causes: not enough dish soap in the mix, coats applied too thick, or not letting it cure. Add a slick barrier, use a 2:1 paint-to-soap ratio, apply thin coats, and let it dry fully.
When to Skip Printable and Order Custom
Printable scratch cards are perfect for small, personal, or light-promo quantities — parties, classrooms, gender reveals, a limited business “secret savings” card. They’re cheap, fast, and fully DIY.
But if you need hundreds or thousands of cards, or the card represents your brand, printable stops making sense — it’s slow, inconsistent, and the coatings aren’t tamper-proof or perfectly even. At that point, custom professional printing is cheaper per card at volume, far more consistent, and more polished. Printers apply machine-even scratch coatings and offer variable data (unique codes per card), custom shapes, and security features.
When you reach that point, Just Scratch It is a strong choice. As a dedicated scratch-off specialist, it includes custom design in every order, supports up to 10 prize tiers and unlimited scratch-off spots, offers both physical and digital scratch cards, and can produce in as little as 2 business days on a quick-turn — turning a DIY idea into a professional, scalable card. Use printables for the personal and playful; use Just Scratch It for the branded and the bulk.
Why the Format Works
Whether printable or professionally printed, the scratch reveal is the point. The hidden panel creates curiosity the brain wants to resolve, and the act of scratching adds anticipation and a small dopamine hit as the result appears. That’s why even a homemade printable card delivers a genuine moment of delight — and why interactive, gamified formats generate engagement rates 100% to 150% higher than static ones (AmplifAI, 2026).
Frequently Asked Questions
How do printable scratch off cards work?
You download and print a card template on cardstock, then add the scratch layer yourself — either a pre-made scratch-off sticker over the hidden area, or homemade scratch paint (2 parts acrylic to 1 part dish soap) over clear tape. The template is the design; you add the scratchable coating.
Where can I get printable scratch card templates?
Canva (free, customizable), craft blogs (free PDFs), and marketplaces like Etsy and Teachers Pay Teachers (editable, often via Corjl). Occasion templates for Christmas, gender reveals, and date night are widely available.
What paper do I need? Sturdy cardstock, not thin paper — it survives scratching and mailing. Print at the highest quality setting, and use glossy/coated stock if applying homemade paint.
How do I add the scratch-off part? Apply a pre-made scratch-off sticker (let it cure ~48 hours), or brush scratch paint (2 parts acrylic, 1 part dish soap) over clear tape covering the message. Never paint directly on paper — it won’t scratch off.
Why won’t my scratch card scratch off?
Usually because paint was applied directly to paper instead of over a slick tape layer, or there wasn’t enough dish soap. Add the barrier, use a 2:1 ratio, thin coats, and let it cure.
Can I get free printable scratch cards?
Yes. Canva and many craft blogs offer free templates (blogs often ask for an email). You still add the scratch layer yourself with stickers or paint.
How many cards fit on a page? Templates commonly print 6–12 cards per 8.5″ x 11″ page, depending on card size.
What size should the scratch area be?
Match it to your sticker (1″ circles are standard). Leave a small margin around it so slight misalignment doesn’t expose the hidden content.
Can I mail printable scratch cards?
Yes. Sticker-based cards are mail-safe; for painted cards, slip wax paper over the coating so it doesn’t stick in the envelope.
When should I order custom instead of printable?
When you need hundreds or thousands, or the card represents your brand. Custom printing (e.g., Just Scratch It) is cheaper per card at volume, more consistent, and offers unique codes, custom shapes, and security features.