There’s a small, universal thrill in dragging a coin across a silver panel to uncover what’s hidden underneath — and you don’t need a printing press to recreate it. You can make your own scratch card at home for a gift, a gender reveal, a classroom reward, a wedding proposal, or a small-business thank-you, and you can do it in about five minutes with the no-paint method or for pennies with the classic paint recipe. If you’d rather skip paper entirely, you can make your own scratch card online free with a digital scratch card maker app.
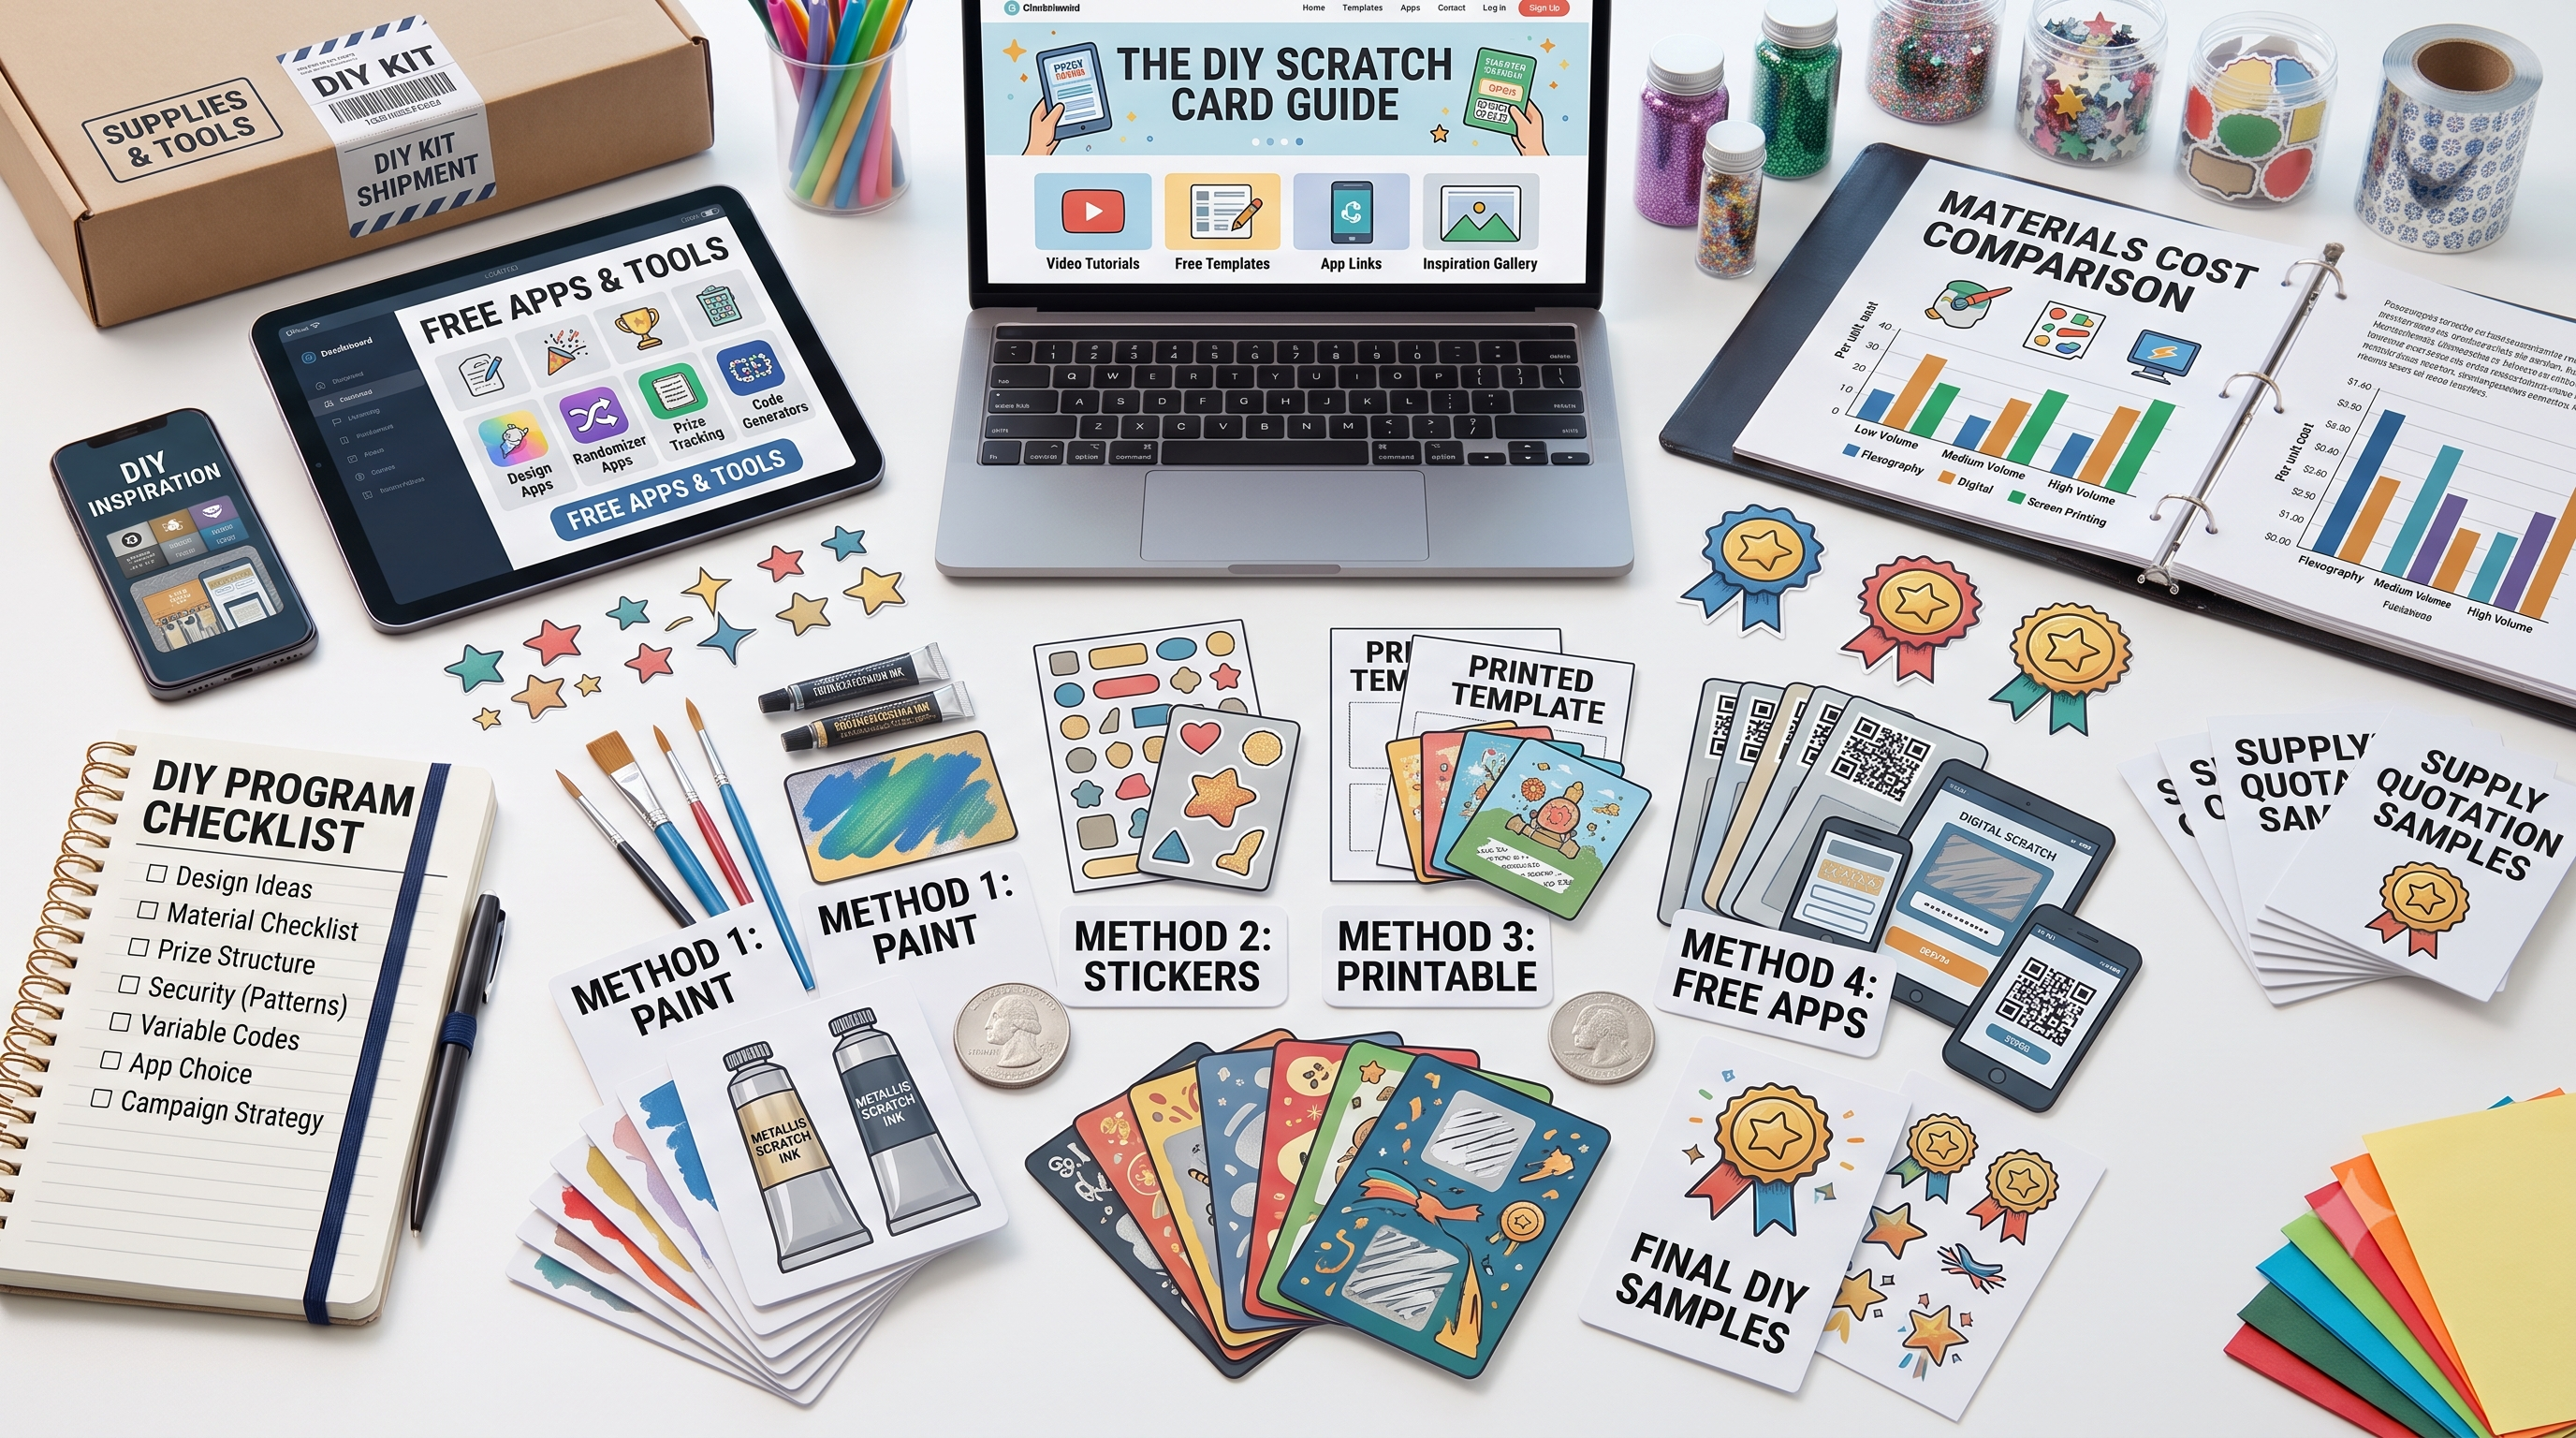
This guide covers all four methods in detail — the paint-and-dish-soap recipe, the no-paint sticker method, printable DIY kits, and free digital tools — with the exact ratios, the little tricks that separate a clean reveal from a smeary mess, and honest notes on which method wins for which situation. Every technique here is drawn from tried-and-tested crafter tutorials and product makers, so you’re getting what actually works, not theory.
Quick answer: How do I make my own scratch card? The fastest way is the no-paint method: write your hidden message on a card with a permanent marker, then cover it with a pre-made scratch-off sticker. The classic homemade method is to mix two parts metallic acrylic paint with one part dish soap, brush it over clear packing tape placed on your message, and let two to three coats dry. For a digital version, use a free scratch card maker like Common Ninja, Drimify, or Priiize.
How Scratch Cards Work: The Science Behind the Reveal
Every scratch card — homemade or factory-made — relies on one principle: an opaque top layer that refuses to permanently bond with the slick surface beneath it, so it flakes away when scratched while your hidden message survives intact.
In a factory, that opaque layer is a latex or metallic scratch ink applied by screen-printing or foil-stamping. At home, you recreate it one of two ways. Either you mix acrylic paint with dish soap — the surfactant in the soap keeps the paint flexible as it dries so it chips off cleanly instead of curing into a hard, permanent film — and paint it over a slick barrier like clear packing tape or contact paper. Or you skip the chemistry entirely and use a pre-made scratch-off sticker, which is simply that opaque layer already applied to a release film.
This is the single most important thing to understand, and the mistake nearly every first-timer makes: the paint must go on a slick, non-porous layer, not directly on paper. Crafters who tested it side by side found that paint applied straight to cardstock bonds and won’t scratch, while the exact same paint over tape peels away perfectly — which is why every reliable tutorial says to apply tape or contact paper first.
There’s also a reason the reveal feels so good. The slow uncovering delivers a small hit of anticipation and dopamine as the result appears — the same reward loop that makes professional scratch cards such effective engagement tools. Interactive, gamified formats like scratch cards generate engagement rates 100% to 150% higher than static ones (AmplifAI, 2026), and even a homemade version taps that same psychology, which is why teachers, marketers, and party planners reach for them.
Method 1: The Paint + Dish Soap Recipe (Classic DIY)
This is the original make-your-own method, ideal when you want a handful of fully custom, handmade cards and don’t mind some drying time.
What is the scratch-off paint recipe? Mix two parts metallic acrylic paint to one part liquid dish soap (some crafters use equal parts and adjust). Stir until smooth. The dish soap keeps the paint flexible so it scratches off cleanly instead of bonding permanently. Brush two to three thin coats over a strip of clear packing tape or contact paper placed atop your hidden message, letting each coat dry 30–40 minutes. Metallic silver or gold gives the most authentic lottery-ticket look.
What You’ll Need
- Cardstock or a pre-made card with your hidden message
- Clear packing tape or clear contact paper (the essential slick layer)
- Metallic acrylic craft paint — silver, gold, or copper for the most realistic look; any color works
- Liquid dish soap (hand dish soap, not dishwasher detergent)
- A small foam brush (foam gives a streak-free finish; bristle brushes leave streaks)
- A coin for scratching
Step-by-Step
- Create your card and hidden message. Write or print what you want to conceal. Keep the surface smooth.
- Cover the message with a slick layer. Cut clear packing tape or contact paper slightly larger than the hidden area and press it down smoothly. This is the non-bonding barrier that lets the paint scratch off — skip it and the paint will stick permanently.
- Mix the scratch-off paint. Combine two parts metallic acrylic paint with one part dish soap and stir until smooth. If it’s too thick to scratch later, add a little more soap; if too thin and streaky, add more paint.
- Brush on thin coats with a foam brush. The first coat looks thin and patchy — that’s expected. Let it dry 30–40 minutes.
- Add a second and, if needed, third coat. Continue until the coating is fully opaque and you cannot read the message through it. Most cards need two to four coats depending on paint intensity.
- Cure fully. Let it dry completely — at least a couple of hours, ideally longer — before handling. A hairdryer or fan speeds this up.
- Scratch with a coin to reveal.
The Food52 “Sticker” Variation
A clever trick from the Food52 thank-you-note tutorial: instead of painting directly on the card, stretch a piece of clear packing tape across the top of an open bowl (sticky side down into the bowl) and paint your dish-soap mixture onto the smooth outer side. Let it dry, add a second coat, then snip the painted tape into shapes and stick them over your hidden messages — essentially making your own scratch-off stickers. This keeps paint off the card itself and lets you personalize each note. Their tester noted that coppery metallic paint went on goopy while silver and gold painted on smoother — so test your specific paint first.
Pro Tips
- Use a stencil or cut a shape (heart, circle) from your contact paper for clean, professional edges.
- Trace your shape with a pencil on the card first, write the message, then erase — never write the hidden message in pen or pencil where it needs to scratch, since indentations show through.
- Batch your cards — since you’re waiting between coats anyway, make many at once.
- Slip wax paper over finished painted cards before mailing so they don’t stick inside the envelope.
Best for: A few heartfelt, fully handmade cards. Downside: Time-consuming and inconsistent — coat thickness and paint type make or break the result.
Method 2: No Paint — The Scratch-Off Sticker Method
If mixing paint sounds messy or unreliable, this is the shortcut, and it’s the method most makers actually recommend for consistent results. Pre-made scratch-off stickers are self-adhesive labels with the opaque coating already applied — peel, stick, done. In head-to-head crafter tests, the stickers scratched off best of all the methods, beating even the tape-and-paint recipe.
How do you make a scratch card without paint? Write your hidden message on a card with a permanent marker (never pencil or pen, which leave indentations that show through), let it dry, then peel a pre-made scratch-off sticker and press it over the message from the center outward to remove air bubbles. No mixing, no drying, professional-looking every time. Scratch-off stickers come in rounds, rectangles, and full sheets and are the most reliable DIY method.
What You’ll Need
- A blank card or paper (smooth, glossy cardstock works best)
- A fine-tip permanent marker (Sharpie) — pencil is not recommended, as indentations show through the sticker
- Pre-made scratch-off stickers (silver rounds, squares, or full sheets)
Step-by-Step
- Write your hidden message where you want it concealed, using a permanent marker. Keep it short and clear.
- Let the ink dry fully.
- Peel a scratch-off sticker from its backing.
- Apply it over the message, covering it completely, and press firmly from the center outward to eliminate bubbles.
- Hand it out.
Ready-Made DIY Kits
If you don’t want to source stickers separately, all-in-one kits pair blank cards with matching stickers. The popular My Scratch Offs DIY classroom kits, for example, come as sets (commonly 20 or 50 packs) of 3″ x 4″ glossy cards printed in the USA with matching 1.25″ silver round scratch-off stickers — you simply write the prize in the white circle with a Sharpie and cover it. They’re marketed for teacher rewards, gender reveals, wedding favors, and party games, and the maker notes they even help young children practice fine motor skills as they scratch.
Good to Know (Straight From the Makers)
- Let stickers cure about 48 hours before scratching — they’re built to survive shipping, so the adhesive needs time to set.
- Scratch with a coin, not a fingernail, which the makers explicitly warn against as it prevents a clean reveal.
- Use permanent marker, not pencil — pencil indentations are visible through the coating.
- Stickers adhere best to smooth, flat cardstock; avoid textured or oily surfaces.
Best for: Reliable, consistent results fast — classrooms, parties, gender reveals, small promotions. Downside: Limited to available sticker shapes/sizes, and you pay per sticker.
Method 3: Printable Scratch-Off Kits & Cricut Sheets
Want the speed of stickers but with your own colors, patterns, or printed designs? Printable scratch-off sticker material lets you print a design onto the sheet, then cut custom shapes.
How It Works
- Design and print your artwork onto the printable (white, scratchable) side of the sheet with a standard inkjet printer at the highest quality setting.
- Cut out your shapes — by hand, or with a cutting machine like a Cricut or Silhouette using registration marks for precise cuts around printed designs.
- Peel and stick each piece over the hidden message.
Many crafters also print the card fronts from free templates (widely available for Valentine’s, gender reveals, and rewards) onto cardstock, then apply either these printable pieces or plain stickers on top.
Best for: Crafters who want custom-branded or themed scratch panels in small batches. Downside: Requires special printable material and ideally a cutting machine for clean edges.
Method 4: Make Your Own Scratch Card Online (Free Tools & Apps)
Sometimes you don’t want paper at all — you want a scratch-to-reveal you can text, email, or embed on a website. Digital scratch cards work just like the paper kind: the user drags a finger on a phone or a mouse on a desktop to uncover the hidden prize, message, or code.
Can I make my own scratch card online for free? Yes. Free online scratch card makers let you build a scratch-to-reveal in minutes with no coding. Common Ninja offers a free scratch card maker that embeds on 200+ platforms like Canva, Shopify, WordPress, and Wix; Drimify and Priiize are gamification platforms with free build-and-test trials. You design the card front, set the hidden prize, and share a link or paste an embed code. Most work on mobile and desktop automatically.
What Digital Makers Offer
- No coding — drag-and-drop editors; design the front, set what’s hidden, publish.
- Any hidden content — text, an image, a coupon code, a link; often changeable after publishing.
- Mobile-first — the scratch gesture is built for touchscreens with a mouse fallback on desktop.
- Sharing or embedding — share a link or paste one line of embed code onto a site, newsletter, or store.
- Odds control (advanced tools) — platforms like Drimify automatically balance prize distribution across a campaign as prizes are won.
Popular Free & Freemium Scratch Card Maker Apps
- Common Ninja Scratch Card Maker — free, no-code, embeds on 200+ platforms in minutes.
- Drimify — HTML5 gamification platform with a free build-and-test trial; paid plans add white-labeling and custom URLs.
- Priiize — digital scratch-off platform for promotions, with prize-claim forms and CRM integrations.
- Browser-based generators (Embeddable, Scratchable, and similar) — quick scratch-to-reveal widgets, several with free tiers.
How to Make a Scratch Card on Your Phone (Mobile)
You usually don’t need to install anything: most digital scratch card makers are mobile-friendly websites. Open the maker in your phone’s browser, design the card, set the hidden prize, and share the link — the recipient scratches with a finger. If you specifically want a dedicated digital scratch card maker app, gamification platforms and several “scratch card maker” apps in the App Store and Google Play offer the same build-and-share flow, and some gift apps let you send a scratch-to-reveal surprise by link.
Best for: Online promotions, email list-building, social sharing, remote reveals, eco-friendly campaigns. Downside: It’s a screen experience — there’s no physical card to hold or mail.
Which Method Should You Use?
| Method | Time | Reliability | Cost | Best For |
| Paint + dish soap | High (hours of drying) | Medium (technique-dependent) | Very low | A few handmade, heartfelt cards |
| Scratch-off stickers | Very low | Highest | Low (per sticker) | Fast, consistent party/class quantities |
| Printable / Cricut sheets | Medium | High | Medium | Custom-themed scratch panels |
| Digital maker/app | Low | High | Free–freemium | Online, mobile, shareable reveals |
What’s the most reliable way to make a scratch card at home? Pre-made scratch-off stickers are the most reliable physical method — in side-by-side crafter tests they scratched off better than homemade paint, and they apply in seconds with consistent results. The paint-and-dish-soap recipe is the cheapest and most customizable but depends on technique. For an instant, shareable version, a free digital scratch card maker is the most reliable of all.
Fun Ways to Use Your Homemade Scratch Cards
The reveal works for almost any surprise:
- Gender reveals and pregnancy announcements — a documented favorite of sticker-kit makers.
- “Will you be my bridesmaid / best man?” and wedding proposals.
- Classroom rewards — teachers use them to reinforce positive behavior and, for young kids, fine motor skills.
- Birthday and holiday gifts — hide a message, gift amount, or experience.
- Small-business thank-yous — one crafter made “Secret Savings” cards revealing 10%–25% off, included with every online order for a limited time.
- Party games, trivia, and scavenger hunts — hide answers, clues, or “you won” messages.
- Advent calendars and date-night jars — scratch a panel a day, or scratch to pick the evening’s plan.
Common Mistakes (and How to Avoid Them)
- Painting directly on paper. Without a slick tape or contact-paper layer, the paint bonds and won’t scratch. This is the #1 mistake — always add the barrier first.
- Writing the hidden message in pen or pencil. Indentations show through the coating or sticker. Use a permanent marker and let it dry.
- One thick coat. Thick coats stay gummy and scratch poorly. Use thin coats with drying time between.
- Too little or too much dish soap. Too little and it bonds; too much and it’s overly thin. Aim for roughly 2:1 paint-to-soap and adjust.
- Not curing. Paint needs a couple of hours; sticker adhesive needs about 48 hours before scratching.
- Scratching with a fingernail. Use a coin for a clean reveal.
- Glossy claims aside, wrong surface. Coatings and stickers grip best on smooth, flat cardstock — not textured or oily paper.
When to Skip DIY and Order Professionally
Homemade cards are perfect for a few dozen personal or small-promo pieces. But if you need hundreds or thousands for a real marketing campaign, DIY stops making sense — it’s slow, inconsistent, and the coatings aren’t tamper-proof. Professional printers use machine-applied latex coatings that are perfectly even, fully opaque, and available with variable data (unique codes per card), custom shapes, and security features. For a business promotion where every card represents your brand, professional scratch-off printing is cheaper per card at volume and far more consistent. Use DIY for the personal and the playful; use a printer for the scalable and the branded.
Frequently Asked Questions
How do you make your own scratch card? Either mix two parts metallic acrylic paint with one part dish soap and brush two to three coats over clear tape covering your hidden message, or cover the message with a pre-made scratch-off sticker. For a digital version, use a free online scratch card maker.
What is scratch-off paint made of? Acrylic paint mixed with liquid dish soap, typically 2:1. The dish soap keeps the paint flexible as it dries so it flakes off cleanly instead of bonding permanently — but it only scratches off over a slick layer like tape or contact paper.
How do I make a scratch card without paint? Write your message with a permanent marker and cover it with a pre-made scratch-off sticker. It’s the fastest and most reliable method, and all-in-one kits pair blank cards with matching stickers.
Can I make my own scratch card online for free? Yes. Tools like Common Ninja, Drimify, Priiize, and various browser generators let you build and share a digital scratch-to-reveal for free or on a free trial.
Is there a scratch card maker app? Yes — several gamification platforms and “scratch card maker” apps exist for iOS and Android, but most free online makers are mobile-friendly websites, so you often don’t need to install anything.
How do I make a scratch card on my phone (mobile)? Open a mobile-friendly scratch card maker in your phone’s browser, design the card, set the hidden prize, and share the link. The recipient scratches with a finger.
Why won’t my homemade scratch-off scratch off? Almost always because the paint was applied directly to paper instead of over a slick tape/contact-paper layer, or there wasn’t enough dish soap. Add the barrier, use a proper 2:1 mix, apply thin coats, and let it cure.
What paint works best? Metallic acrylic (silver, gold, or copper) looks most like a real scratch card; silver and gold tend to paint on smoothest, while some coppery paints go on goopy. Always mix with dish soap and use a foam brush.
Where can I buy scratch-off stickers or kits? Scratch-off stickers and complete DIY kits (like the My Scratch Offs classroom packs) are widely available on Amazon in rounds, squares, and sheets, in multiple colors and pack sizes.
Can I mail a homemade scratch card? Yes. Sticker-based cards are mail-safe. For painted cards, add a slip of wax paper over the coating so it doesn’t stick inside the envelope.
How long do I wait before scratching? For paint, at least a couple of hours to cure fully. For stickers, makers recommend about 48 hours for the adhesive to set before scratching.
Are digital scratch cards better than paper? It depends. Digital is instant, free or cheap, shareable, and eco-friendly. Paper is tangible, mailable, and more personal as a keepsake. Choose based on whether you need a physical card or an online reveal.