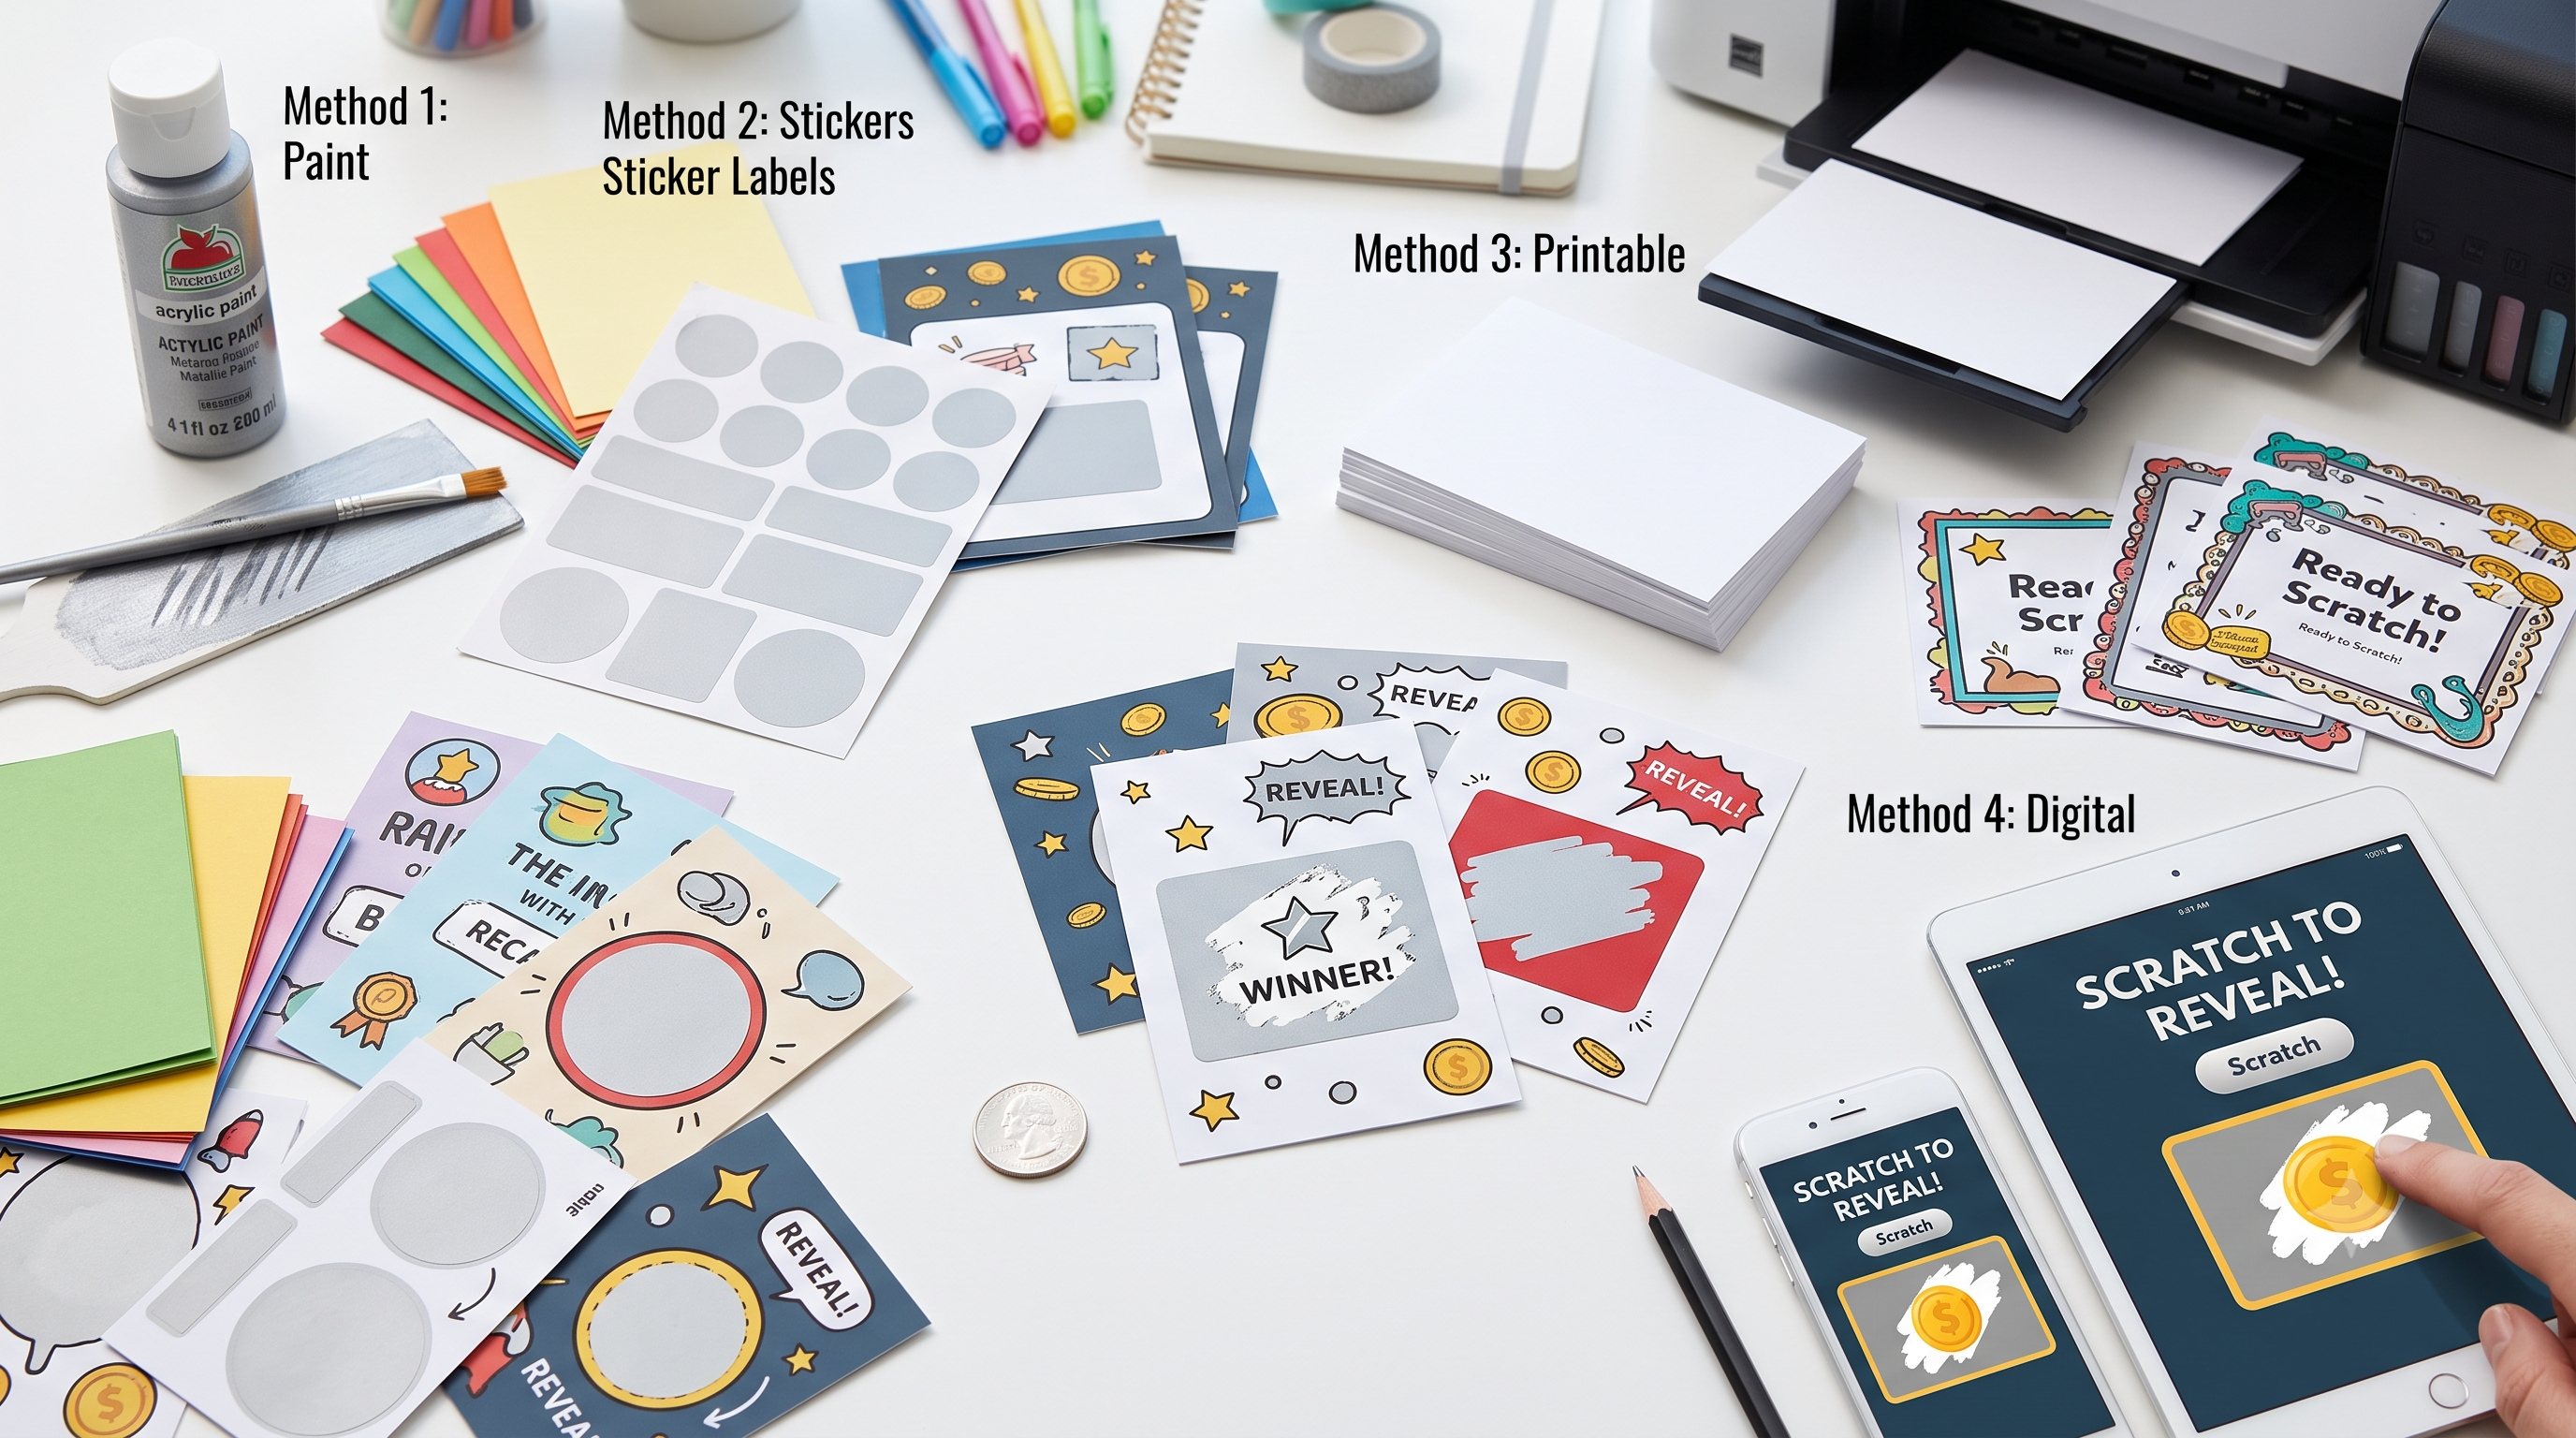
There is a tiny, reliable thrill in scratching a silver panel to reveal what’s hidden underneath — and you can recreate it at home for a gift, a party game, a gender reveal, a classroom reward, or a way to ask someone to be your bridesmaid. The good news: making your own scratch card is genuinely easy, and there’s more than one way to do it depending on how much time you have and whether you want a physical card or a digital one.
This guide walks through all four methods, from the classic paint-and-dish-soap recipe to no-paint stickers, printable sheets, and free online scratch-card makers and apps. Each method includes exact steps, the supplies you need, and the little tricks that make the difference between a card that scratches cleanly and one that smears.
This is a make-it-yourself guide for personal projects. If you’re a business that needs hundreds or thousands of professionally coated, tamper-resistant cards for a marketing campaign, that’s a different job best handled by a professional printer — but for everything from a birthday surprise to a small promotion, the methods below are all you need.
Quick answer: What’s the easiest way to make your own scratch card? The fastest no-mess method is to write your hidden message on a card with permanent marker, then cover it with a pre-made scratch-off sticker — done in seconds. The classic homemade method is to mix two parts metallic acrylic paint with one part dish soap, cover your message with clear packing tape, and brush on two to three coats. For a digital version, use a free online scratch-card maker like Common Ninja, Drimify, or Priiize.
How a Scratch Card Actually Works (The 30-Second Version)
Every scratch card, homemade or professional, relies on the same simple trick: an opaque layer that won’t permanently bond to the surface beneath it, so it flakes away when scratched while leaving your hidden message intact.
In a factory, that layer is a latex or metallic scratch ink. At home, you recreate it one of two ways — either by mixing paint with dish soap (the soap stops the paint from gripping the slick surface underneath) or by using a sticker that already has a release film built in. Either way, the principle is identical: a slick barrier below, an opaque coating on top.
There’s a reason the reveal feels so satisfying, by the way. The slow uncovering triggers small releases of dopamine and a little anticipation-driven adrenaline as the result appears — the same neurological reward loop that makes professional scratch cards so engaging. You’re not imagining the fun; it’s wired in.
Method 1: The Classic Paint + Dish Soap Recipe
This is the original DIY method, perfect when you want to make a few personalized cards from scratch and don’t mind some drying time.
What is the scratch-off paint recipe? Mix two parts metallic acrylic paint to one part liquid dish soap (some crafters use equal parts). Stir until smooth. The dish soap stops the paint from permanently bonding to the slick surface beneath, so it scratches off cleanly. Apply two to three thin coats over a strip of clear packing tape placed atop your hidden message, letting each coat dry fully. Two coats is usually the sweet spot.
What You’ll Need
- Cardstock or a pre-made card with your hidden message on it
- Clear packing tape or clear contact paper
- Metallic acrylic craft paint (silver, gold, or copper looks most “real”; any color works)
- Liquid dish soap (hand-washing soap, not dishwasher detergent)
- A small foam brush
- A coin for scratching later
Step-by-Step
- Create your card and message. Write or print whatever you want hidden — a prize, a discount, a question, a gender reveal. Make sure the surface is smooth with no bumps.
- Cover the message with tape. Cut a piece of clear packing tape (or contact paper) slightly larger than your hidden message and press it down smoothly over the area. This slick layer is what lets the paint scratch off — without it, the paint bonds to the paper and won’t budge.
- Mix the scratch-off paint. Combine two parts metallic acrylic paint with one part dish soap in a small container and stir thoroughly until smooth. A teaspoon of each covers several small cards.
- Brush on thin coats. Apply the first coat over the tape with gentle, even strokes. It will look thin and streaky — that’s normal. Let it dry 30–45 minutes.
- Add a second coat in the opposite direction (cross-hatching) for full, opaque coverage so the message can’t be read through it. Two coats is usually ideal; a third can make it too hard to scratch.
- Let it cure. Allow at least two hours of drying, ideally overnight, before handling. A box fan speeds this up.
- Scratch to test. Use a coin to reveal your message.
Pro Tips
- Use a stencil (a rectangle or heart cut from cardboard) over the tape so your painted area has clean edges and looks more professional.
- If you want colored scratch-off instead of silver, just use colored metallic paint — the method is identical.
- Slip a piece of wax paper over the finished card before mailing so the coating doesn’t stick inside the envelope, and tuck in a coin to help the recipient along.
Best for: A handful of heartfelt, fully handmade cards. Downside: Time-consuming, and results can be inconsistent — the coating can go on too thick, too thin, or peel unevenly.
Method 2: No Paint — The Scratch-Off Sticker Method
If the paint method sounds messy or unreliable, this is the shortcut. Pre-made scratch-off stickers are self-adhesive labels with a built-in scratchable coating (silver, gold, or colored) that completely conceals whatever’s underneath. No mixing, no drying, professional-looking every time.
How do you make a scratch card without paint? Write your hidden message on a card with a permanent marker, then peel and apply a pre-made scratch-off sticker directly over it, pressing from the center outward to remove air bubbles. That’s it — no paint, no mixing, no drying time. Scratch-off stickers come in rounds, rectangles, and full sheets, apply in seconds, and look consistent every time. Avoid pencil or pen, which can leave indentations that show through.
What You’ll Need
- A blank card or paper
- A fine-tip permanent marker (Sharpie) — not pencil or pen, which leave indentations that show through
- Pre-made scratch-off stickers (sold on Amazon and from specialty makers in rounds from about 0.5″–2″, rectangles, and 8.5″ x 11″ sheets you can cut)
Step-by-Step
- Write your hidden message in the spot you want concealed, using permanent marker. Keep it short and clear.
- Let the marker dry completely.
- Peel a scratch-off sticker from its backing.
- Apply it over the message, pressing firmly from the center outward to eliminate bubbles and ensure full adhesion.
- Hand it out — and let the scratching begin.
Good to Know
- Let stickers cure. Many manufacturers recommend allowing about 48 hours for the adhesive to fully cure before scratching, since they’re built to survive shipping.
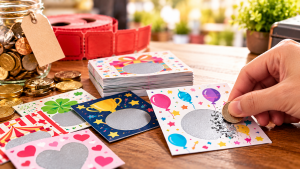
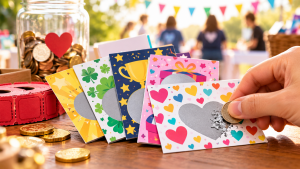
- Scratch with a coin, not a fingernail, which the makers note can damage the surface and prevent a clean reveal.
- Stickers adhere best to smooth, flat cardstock — avoid glossy-coated, textured, or oily surfaces.
- They’re mail-safe, so they hold up through standard postal handling.
Best for: Reliable, professional-looking results fast — parties, gender reveals, classroom rewards, small promotions. Downside: You’re limited to the sticker shapes and sizes available, and you pay per sticker.
Method 3: Printable Scratch-Off Sticker Sheets (Custom Designs)
Want the speed of stickers but with your own colors, patterns, or printed designs on the scratch layer? Printable scratch-off sticker material is the answer. These are sheets — white on the scratchable side, paper-backed on the other — that you run through your home printer, then cut by hand or with a cutting machine like a Cricut or Silhouette.
How It Works
- Design and print your artwork onto the white (scratchable) side of the sheet using a standard inkjet printer.
- Cut out the shapes — by hand with scissors, or with a cutting machine using registration marks so it cuts precisely around your printed design.
- Peel and stick each piece over the hidden message on your card.
This method gives you patterned or colored scratch panels instead of plain silver — you can match a party theme, print a logo, or make the scratch area any shape you like.
Best for: Crafters who want custom-branded or themed scratch panels in small batches. Downside: Requires buying special printable material and ideally a cutting machine for clean results.
Method 4: Make a Digital Scratch Card Online (Free Tools & Apps)
Sometimes you don’t want a physical card at all — you want a scratch-to-reveal you can text, email, or embed on a website. Digital scratch cards work exactly like the paper kind: the user drags a finger (on a phone) or mouse (on a desktop) across a virtual panel to uncover the prize, message, or code beneath.
Can I make a scratch card online for free? Yes. Free online scratch-card makers let you build a scratch-to-reveal in minutes with no coding. Popular options include Common Ninja (embeds on 200+ platforms like Canva, Shopify, WordPress, and Wix), Drimify and Priiize (gamification platforms with free trials), and simple browser-based generators. You design the card front, set the hidden prize, and share a link or paste an embed code. Most work on mobile and desktop automatically.
What Digital Makers Offer
- No coding. Drag-and-drop editors; you design the front, set what’s hidden underneath, and publish.
- Any hidden content. Text, an image, a coupon code, a link, or an HTML snippet — and you can usually change the prize later without rebuilding.
- Mobile-first. The scratch interaction is built for touchscreens with a mouse-drag fallback on desktop.
- Sharing or embedding. Share a link, or paste one line of embed code onto your website, newsletter, Canva design, or store.
- Odds control (on advanced platforms). Tools like Drimify automatically smooth prize distribution across a campaign’s dates and prize count, recalculating the odds as prizes are won.
Popular Free / Freemium Tools
- Common Ninja Scratch Card Maker — free, no-code, embeds on 200+ platforms in under five minutes.
- Drimify — HTML5 gamification platform with a free build-and-test trial; paid plans unlock white-labeling and custom URLs.
- Priiize — digital scratch-off platform aimed at promotions, with prize-claim forms and CRM integrations.
- Embeddable / Scratchable / browser generators — quick scratch-to-reveal widgets, some AI-assisted, several with free tiers.
- Gift apps (e.g. scratch-to-reveal virtual gift makers) — for sending a fun personal surprise by link.
“How do I make a scratch card on my phone?”
You don’t need a dedicated app — most digital scratch-card makers are mobile-friendly websites. Open the maker in your phone’s browser, design the card, and share the link. The recipient scratches with their finger. If you specifically want an app, gamification platforms and several “scratch card maker” apps in the iOS App Store and Google Play offer the same build-and-share flow.
Best for: Online promotions, email list-building, social sharing, remote gender reveals, eco-friendly campaigns (no paper or shipping). Downside: It’s a screen experience — there’s no physical card to hold or mail.
Which Method Should You Use?
| Method | Time | Skill | Cost | Best For |
|---|---|---|---|---|
| Paint + dish soap | High (hours of drying) | Low–medium | Very low | A few handmade, heartfelt cards |
| Scratch-off stickers | Very low | Very low | Low (per sticker) | Fast, reliable, party/event quantities |
| Printable sheets | Medium | Medium | Medium | Custom-designed/themed scratch panels |
| Digital maker | Low | Low | Free–freemium | Online, mobile, shareable reveals |
What’s the most reliable way to make a scratch card at home? Pre-made scratch-off stickers are the most reliable physical method — they apply in seconds and look consistent every time, with none of the thickness, peeling, or drying problems of homemade paint. The paint-and-dish-soap method is the most budget-friendly and fully customizable, but it’s slower and less predictable. For an instant, shareable version, a free digital scratch-card maker is the most reliable of all.
Fun Ways to Use Your Homemade Scratch Cards
The reveal mechanic works for almost any surprise. Ideas people love:
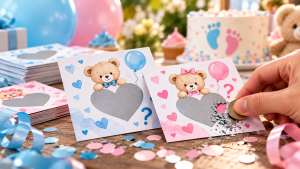
- Gender reveals and pregnancy announcements — hide “It’s a girl!” under the panel.
- “Will you be my bridesmaid / best man?” proposals.
- Birthday and holiday gifts — hide a message, a gift amount, or an experience (“Concert tickets!”).
- Classroom and kids’ rewards — teachers use them as incentive cards.
- Small-business thank-yous — tuck a “secret savings” card (10%–25% off next order) into shipped orders.
- Party games and trivia — hide answers, bingo squares, or “you won” cards.
- Advent calendars — number 24 scratch panels, hide a daily activity under each.
- Date-night jar — write restaurants or activities under panels and scratch to decide.
Common Mistakes (and How to Avoid Them)
- Skipping the tape or release layer. Without a slick barrier, homemade paint bonds to the paper and won’t scratch off. Always tape first.
- Using pen or pencil for the hidden message. The indentation shows through the coating or sticker. Use a permanent marker and let it dry.
- Painting one thick coat. Thick coats stay gummy and scratch poorly. Use two to three thin coats with drying time between.
- Not letting it cure. Both paint and stickers need curing time (a couple of hours for paint; up to 48 hours for sticker adhesive) before scratching.
- Scratching with a fingernail. Use a coin for a clean reveal; nails can smear paint or damage sticker surfaces.
- Glossy or textured paper. Coatings and stickers grip best on smooth, flat cardstock.
Frequently Asked Questions
How do you make your own scratch card?
Either mix two parts metallic acrylic paint with one part dish soap and brush two to three coats over clear tape covering your hidden message, or simply cover the message with a pre-made scratch-off sticker. For a digital version, use a free online scratch-card maker.
What is the scratch-off paint made of?
A mix of acrylic paint and liquid dish soap, typically 2:1 (paint to soap). The dish soap prevents the paint from permanently bonding to the slick surface underneath so it scratches off cleanly.
How do I make a scratch card without paint?
Write your message with permanent marker and cover it with a pre-made scratch-off sticker. No mixing or drying — it’s the fastest and most consistent method.
Can I make a scratch card online for free?
Yes. Tools like Common Ninja, Drimify, Priiize, and various browser-based generators let you build and share a digital scratch-to-reveal for free (with paid upgrades for branding and advanced features).
Is there a scratch card maker app?
Yes — several gamification platforms and “scratch card maker” apps exist, but most free online makers are mobile-friendly websites, so you usually don’t need to install anything.
How do I make a scratch card on my phone?
Open a mobile-friendly scratch-card maker in your phone’s browser, design the card, set the hidden prize, and share the link. The recipient scratches with their finger.
Why won’t my homemade scratch-off scratch off?
You likely skipped the tape/release layer, painted too thick, or didn’t let it cure. Add a slick barrier (tape or contact paper) under the paint, use thin coats, and allow full drying time.
What kind of paint works best?
Metallic acrylic craft paint (silver, gold, or copper) looks most like a real scratch card, but any acrylic works. Always mix it with dish soap.
Where can I buy scratch-off stickers?
Scratch-off stickers and DIY kits are widely available on Amazon and from specialty scratch-off makers, in round, rectangle, and full-sheet formats and multiple colors.
Can I mail a homemade scratch card?
Yes. Sticker-based cards are mail-safe. For painted cards, add a slip of wax paper over the coating so it doesn’t stick inside the envelope.
Are digital scratch cards better than paper?
It depends. Digital is instant, free or cheap, shareable, and eco-friendly with no shipping. Paper is tangible, mailable, and feels more personal as a gift. Choose based on whether you need a physical keepsake or an online reveal.